This page may contain affiliate links.
Read our disclosure and privacy policy here.
Making a DIY nature journal can be an incredibly rewarding activity for both kids and adults. It helps us take the time to observe and experience nature. The worksheets and templates that we provide are a great motivator to keep you going as well. Using premade templates and pre-drawn elements make it easier to spend more time adventuring and exploring, and less time being intimidated by a blank page. The end result will be something you and your kids will be proud to look back on.
Table of Contents
Create an Amazing DIY Nature Journal For Kids

Download Printables
Download Printables
Download Printables
PRINT IT OUT - MINIMIZE DISTRACTIONS
The pintables available with this project include templates and worksheets to make nature journal easy and fun! Much better than starting with a blank page, and perfect for beginners to nature journals as well.
Useful Lesson Opportunities From This Project
- Artistic skills
- Drawing skills
- Observation skills, attention to detail
- Science and Nature
- Taking the time to observe nature and the interactions between members of an ecosystem.
- Learning how to differentiate between species of plants and animals.
- Developing an interest in exploration.
- Appreciating the diversity in nature, and our place in it.
- Personal Development
- Having patience, taking the time to be in the moment, and focusing our senses.

PROJECT PREVIEW
Project Preview
Project Preview
sneak peek
List of Materials & Tools
Materials Required For Fabrication
- Printer (to print the pages)
- Empty large cereal box, or another type of thick cardstock to make the cover.
- Scissors to cut the paper and cardstock.
- A Ruler for measuring.
- A somewhat straight branch section from a tree, about the same thickness and length as a new pencil.
- 2 to 3 good quality small rubber bands, or one longer one.
- Optional: Any natural elements you might want to use to design the cover of your journal.
What you need to take with you on your adventures
- A couple of pencils (or any other drawing tool you prefer)
- Coloring pencils (a basic set of 12-24 pencils is fine)
- Eraser
- Small ruler
- Tape for taping flowers or leaves into the book to make pressings
- Camera (if you want to take some pictures to help your drawings)
Creating a DIY Nature Journal
Alright so now it’s time to get to work! It’s actually going to be pretty easy to create your very own nature journal because we’ve put together several worksheets to help get you started. Just adding these worksheets to your journal will give you a lot of things to do and explore the next time you or your kids go adventuring. So let’s get started!
Step 1: Making a cover for your nature journal
The cover for your nature journal can be simple, or you can spend some time really decorating it. But whatever you decide to do with it, it has to be a bit tougher than the pages in it so that it can protect them from damage. In our example, we used thick watercolor paper, but you could also use cereal box cardboard for example. The dimensions for the cover are included in the downloadable PDF project guide included at the top of this page.
You’ll start by cutting the cover to size. We designed to cover to be a bit larger than the pages within it to help protect the pages better.
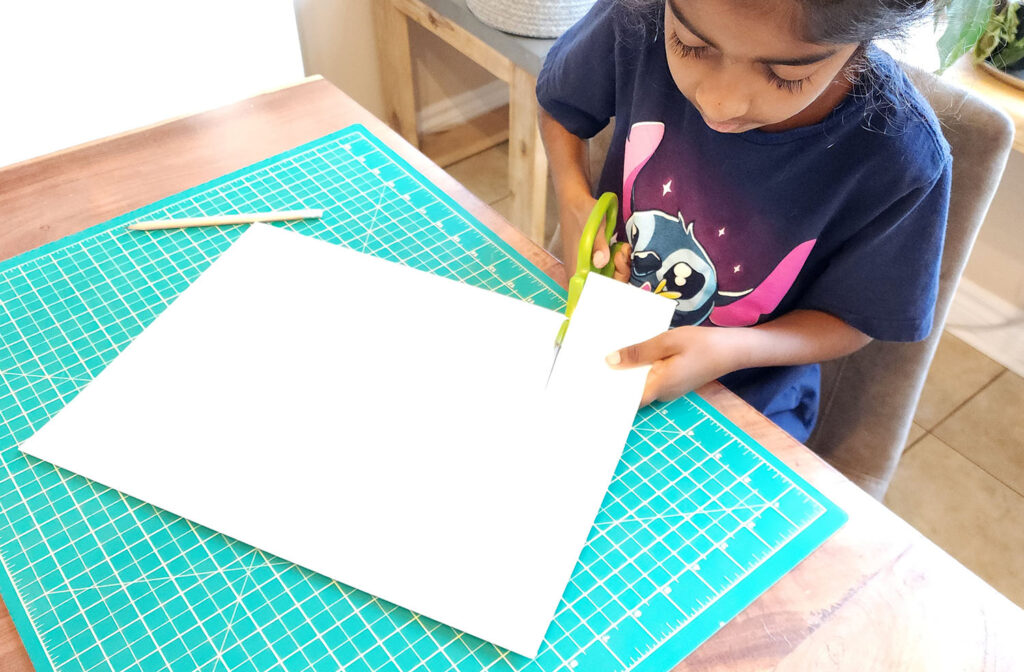
Cutting the cover for our nature journal. The final cover dimensions should be about 9″ x 12″. The cover should be made from cardstock material, like cereal box cardboard. Here, we are using watercolor paper which thick and durable.
Once you have cut the cover to size, you then fold it in half, and perforate it with a hole punch. You need to be careful not to punch the holes too close to the edge, or journal could rip. Out templates have a 5/8″ margin all around, so that gives you some room to punch the holes a little farther from the edge. See the image below for our recommendation on where to punch the holes.

In the above image, you can see that the hole was punched 3/8″ from the folded edge, and 2″ from the top and bottom of the journal. An elastic will be going through this hole to bind the pages inside the journal.

Folding the cover in half and punching 2 holes in it along the fold area so that we can bind the journal pages together when we’re ready to add them in.
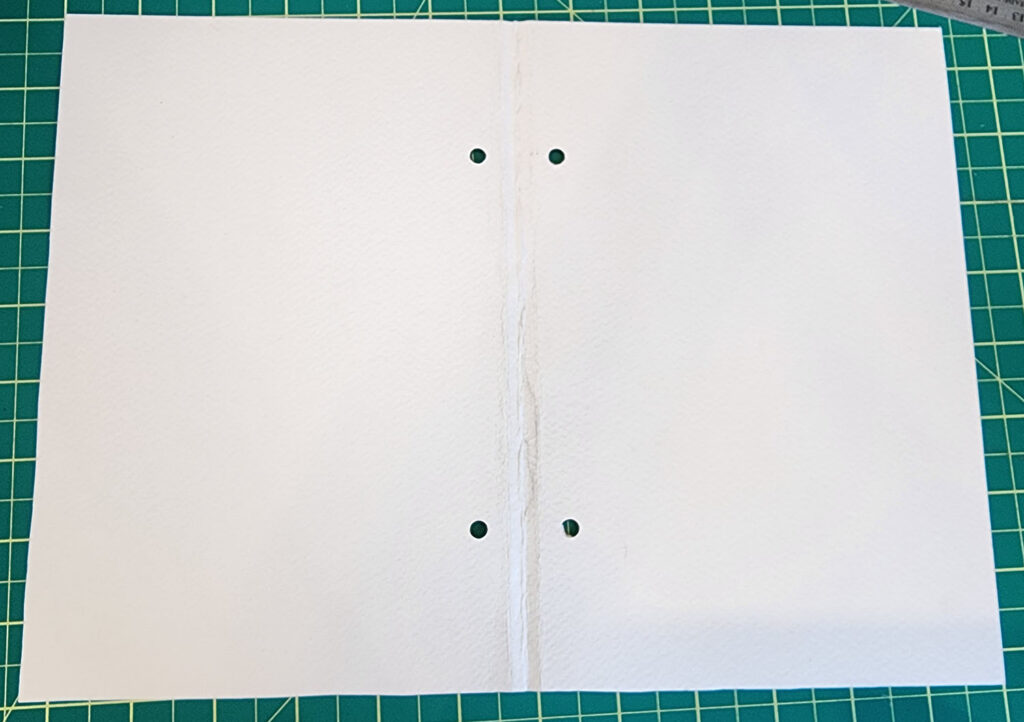
After punching the holes, when you open up the cover, this is what it should look like.
Step 2: Decorate the cover of your nature journal
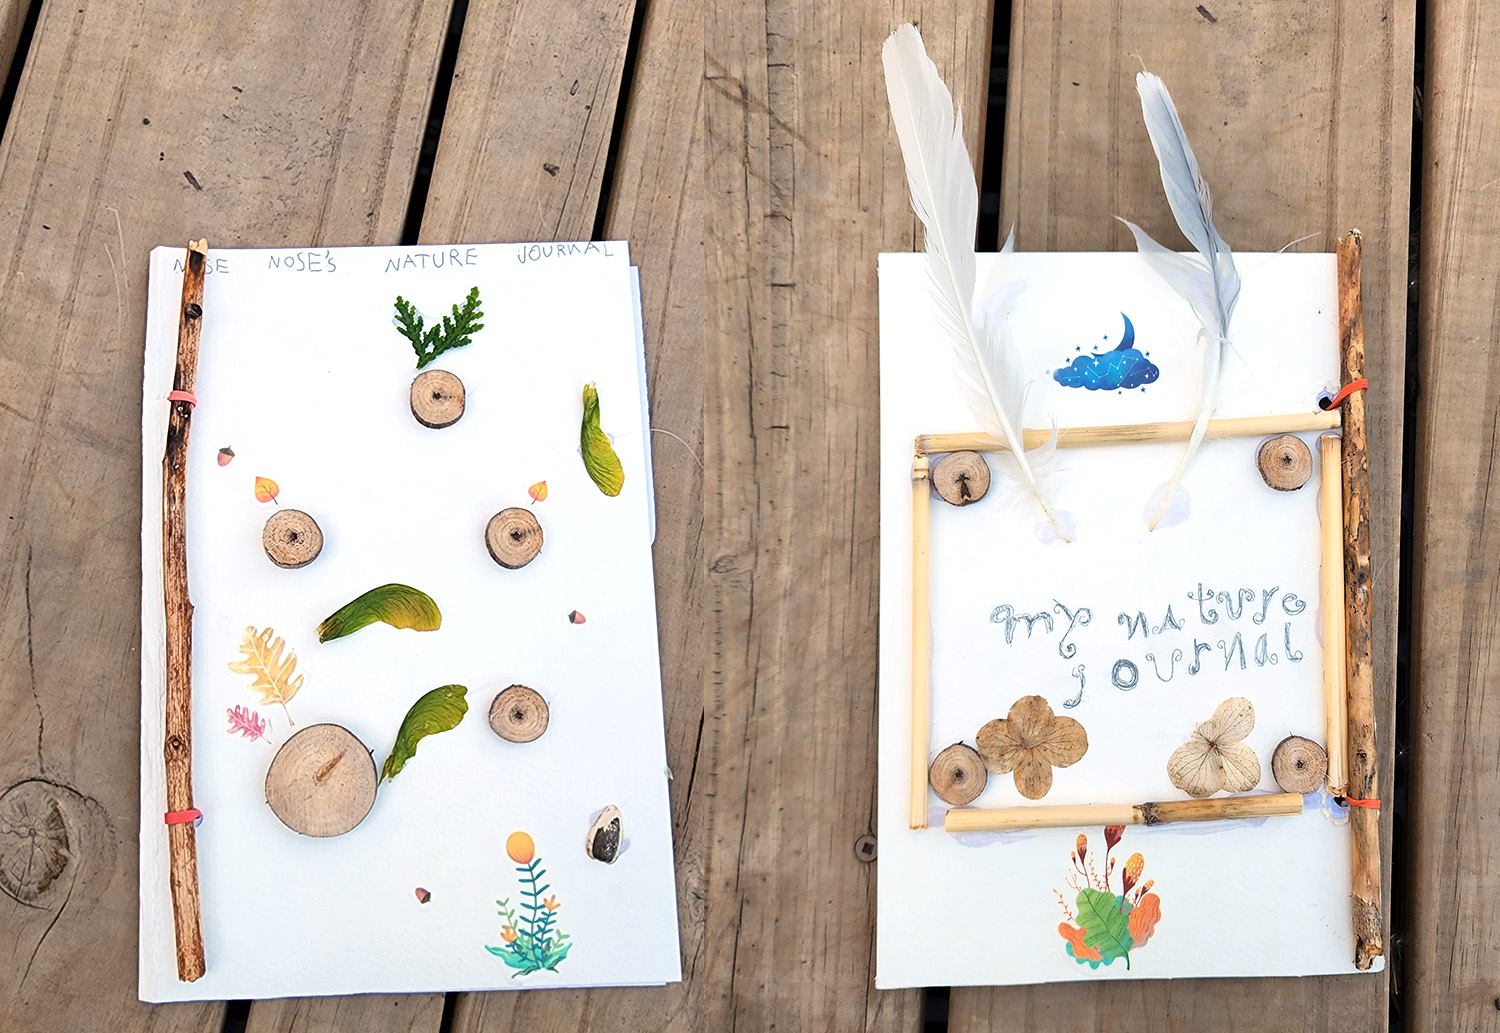
Once your cover is cut to size, folded, and perforated, you can decorate it! This part is completely up to you. In our example you can see how we used natural items we foraged from around the house and the park. Be creative here and have fun!
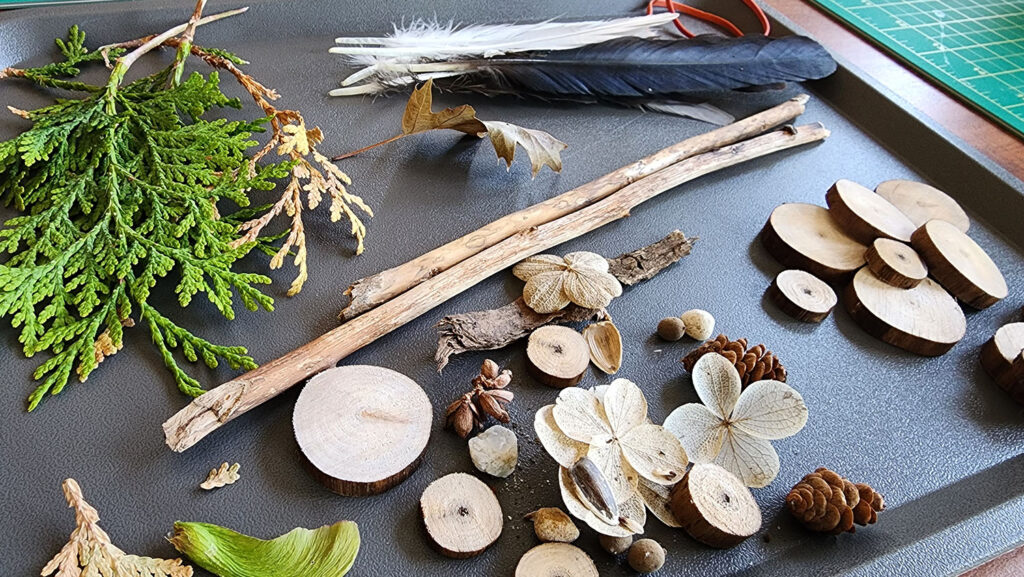
Items we foraged for around the house and at the park, to add to our nature journal cover.
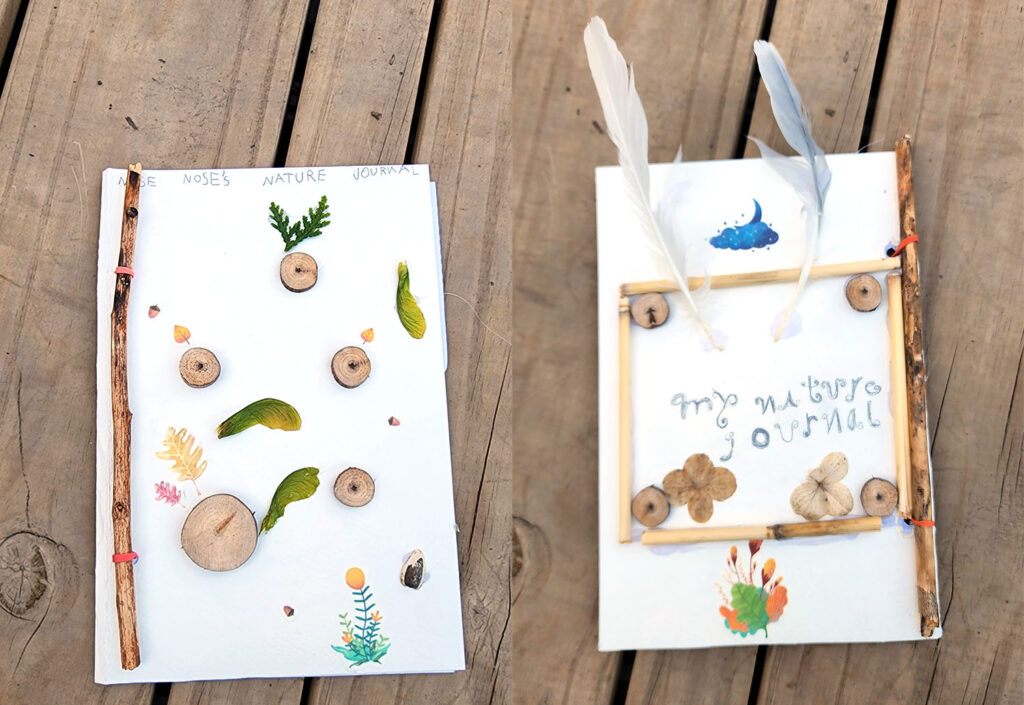
Decorate your nature journals with anything you like!
Step 3: Print out the provided Nature Journal Worksheets
The downloadable PDF included at the top of the page also comes with several templates and worksheets that you can include in your journal. Each printed page has 2 worksheets on it, so you will need to cut each page in half after they are printed. You get to choose which worksheets and templates you want to use in your journal – it’s completely up to you, and you can add as many of each as you want, and in whatever order you want.
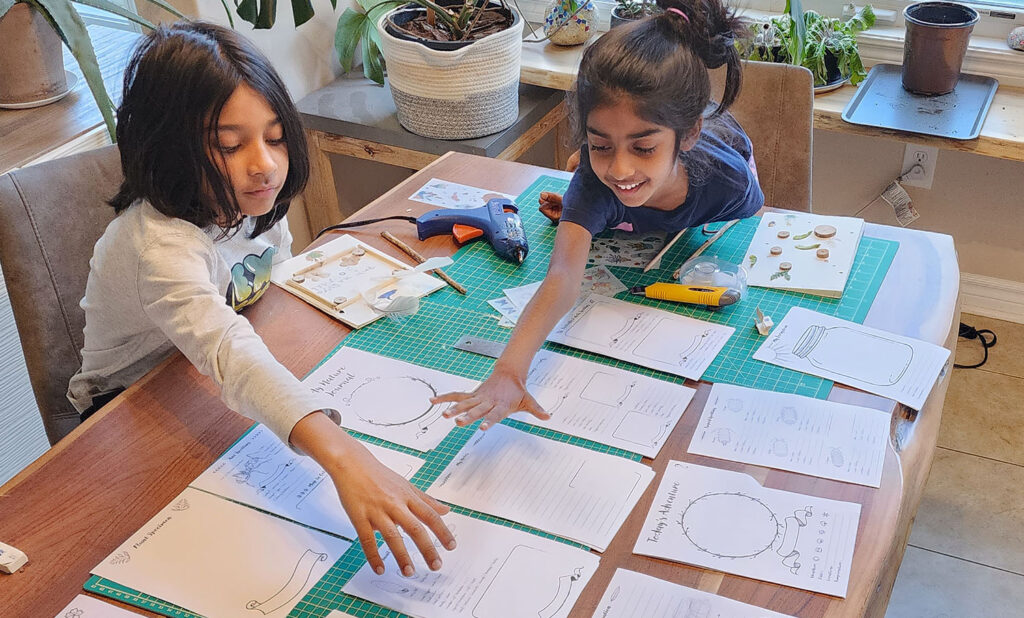
Assembling our template pages for our nature journal.
Once you choose which worksheets you want to use, organize them in the order that you have chosen, and then perforate them with a hole punch. Use your cover as a guide to help you to perforate the worksheet pages in the right place. Take a look at our project preview video above to see how this is done.
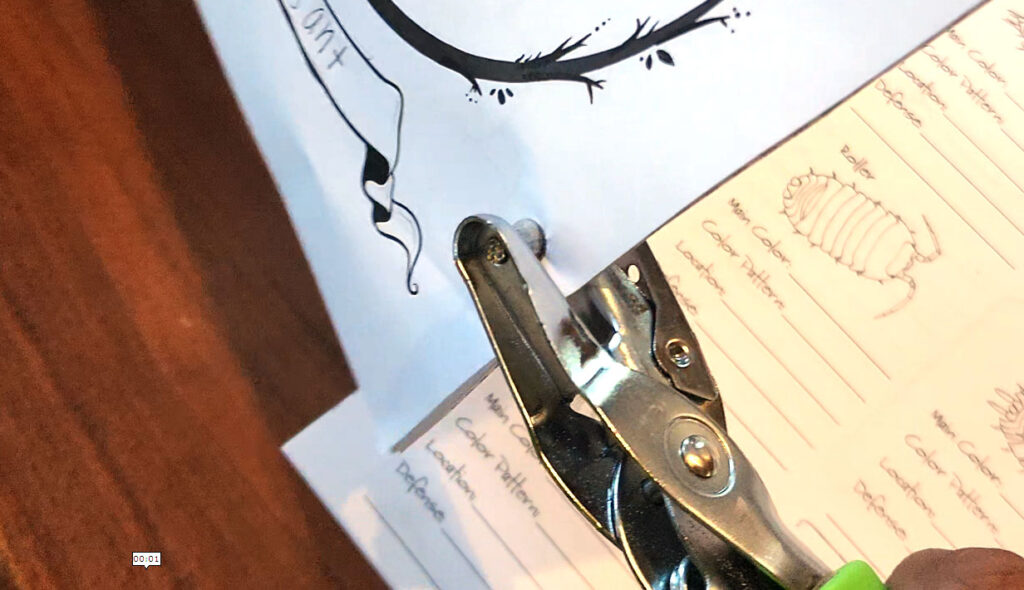
Perforating the pages of our nature journal. We put a few pages together at a time. To find the right place to make the hole, place your pages into your cover first, and use a pencil to mark where the hole should be. Then you can take out the pages and perforate them at the right spot.
Remember that you can create as many journals as you want. Don’t try to stuff too many pages in one journal, it may become difficult to manage.
Here is a brief list and description of some of the templates and worksheet available, with more available in the PDF download above and more to come over time:
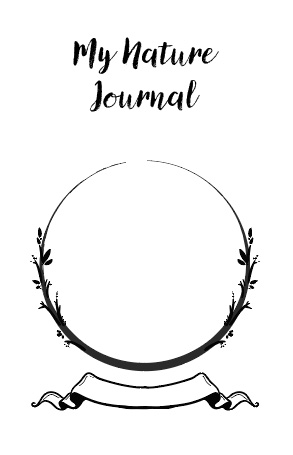
- Title Page – My Nature Journal: This is a template you can add as the first page inside your journal.
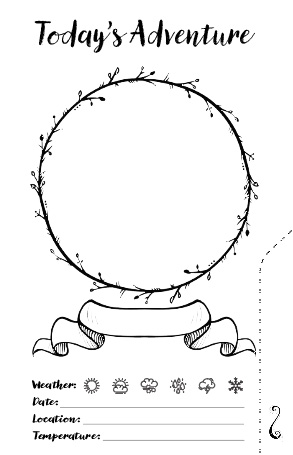
- Today’s Adventure Page: This page is meant to allow you to separate your different adventures in your journal. If you cut the page along the dotted line, it will work like a ‘tab’ in your journal so that you can easily flip from one adventure to the next.
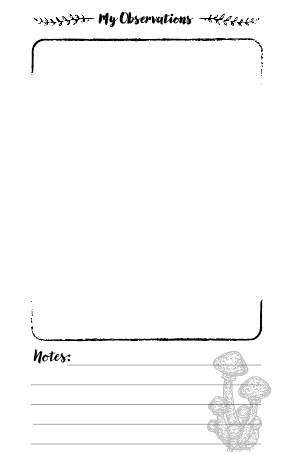
- Notes, Observations, & My Adventure Page: There are a few options for notes pages, which are more focused on writing. One template has only lines to write on, while the others have areas for drawing as well. The Observations page has a larger image area, with lines underneath for writing. The My Adventure page is simply a large blank page to give you the freedom to use it in any way you like.
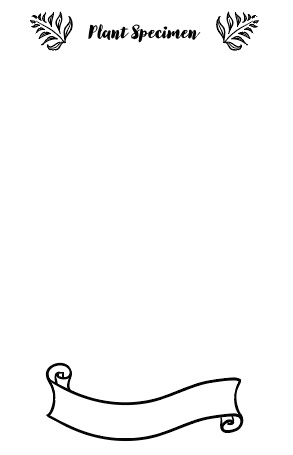
- Plant & Flower Specimens: The plant and flower specimens pages give you a large space where you can tape specimens of interesting flowers or plants you find. Make sure you are completely certain the specimens you are collecting are safe to handle. Some plants and flowers can cause severe reactions and can be dangerous to handle. When in doubt, do not touch! Observe from a distance, and draw it instead, for further research. You also have an area at the bottom of the sheet to write in the name of the specimen or drawing.
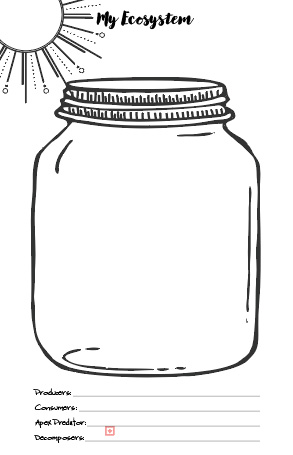
- My Ecosystem: The My Ecosystem worksheets allow you to user your imagination and create an ecosystem of your own! It can be anything you like, but try to include some of the key elements of ecosystems: Decomposers, Producers, Consumers, and Apex Predators.
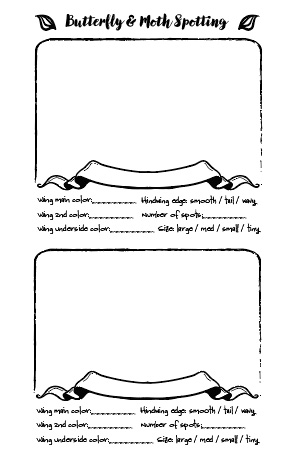
- Butterfly and Moth spotting: This worksheet gives you an area to draw the interesting butterflies and moths you might spot. It also has some prompts where you can write down key information about them to help you identify them later.
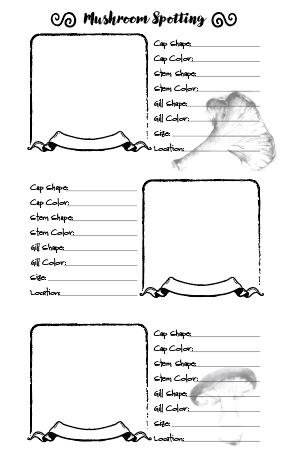
- Mushroom spotting: This worksheet allows you to record all the interesting types of mushrooms you might find. Remember that unless you know a lot about wild mushrooms, leave them be, as some may be poisonous. You can draw the mushrooms you see in the spaces provided, or take pictures and glue them into your journal.
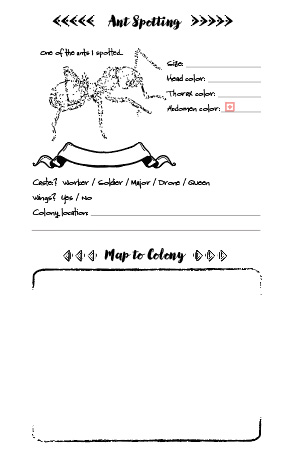
- Ant spotting: Each of these worksheet is for just one ant species. It includes an ant drawing that you can color in with the colors of the ant that you spot, as well as some prompts for key information about that species. There is also an area you can use to try to map out a route to its colony. The map will help you in case you want to return and find the colony again in the future.
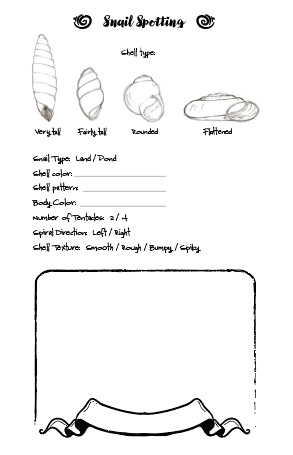
- Snail spotting: Each of these worksheet is for just one snail species. It shows you the shells shapes of different kinds of snail species you might find, and you can take note of key details with the prompts. When you find a snail, take note of the shape and color of it’s shell, and color in the appropriate shell in the template provided. You can also draw the snail in the space provided.
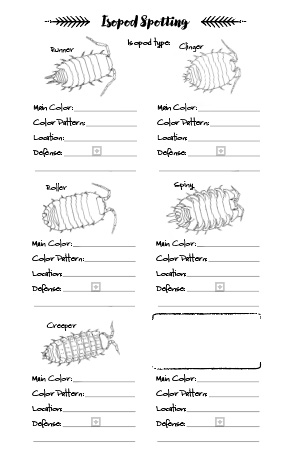
- Isopod spotting: There worksheets can be used to record sightings of different types of isopods based on their physical characteristics. When you find an isopod, use the provided templates to color in the isopod’s color patterns, and note their characteristics next to the prompts provided.
You can use the space provided to draw in isopods which do not fit the shapes of the isopod templates provided.
Step 4: Assemble your journal pages into your cover
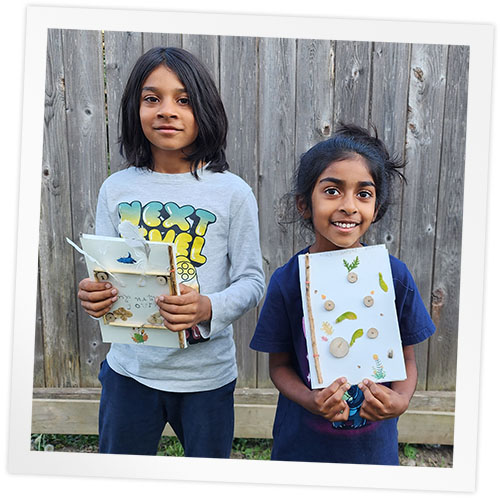
The last step is to assemble the pages together and insert them into the cover. You can use a rubber band and a stick to bind them together and create a more natural look. You could also just use rings, or thread, or any other way to bind the pages together. In our example, we used the branch and rubber band approach because we liked the natural look. Check out our project preview video to see how that’s done.

Keep Growing Your Nature Journal
We’ve designed our templates to give you the freedom to add whichever pages you want in any order. Keep adding more pages to your journal over time, and you’ll be creating an incredible keepsake that you will enjoy reminiscing over and sharing with others. Encourage your kids to do the same. Twenty years from now when they rediscover it at the bottom of an old chest in the attic or basement, they will fondly remember these outings, I guarantee it.
And keep checking back here, we intend to add more and more worksheets over time. There’s a lot to discover out there, and we want to make this time a rewarding and unforgettable experience for your kids and for you.

DISCUSSION
DISCUSSION
DISCUSSION
FOLLOW-UP TOPICS
Journaling Topics
Observation
If you’re a parent, you know the difference between hearing and listening! Well, this applies to all ages when it comes to our visual senses. There is a difference between seeing, and observing. Observation takes patience and focus. It’s a skill, and it needs practice. When you or your kids are working on your nature journal, practice your observation skills. There are many ways to do this. One way is to start with the ‘big picture’, and then work your way towards the details. If you are on a forest trail for example, take in the overall scene. What are the large movements, the overall atmosphere, lighting conditions, wind, sounds… then work your way towards more details – looking at individual plants, leaves on the ground, rock formations, rotting logs… and then get even closer, looking and specific forms, patterns, small movements… finally focusing in on a specific organism, like an insect, observing it’s movements, shape, demeanor… then it’s colors, anatomy, reactions.
Moving from the big picture down to the little detail helps to set the stage in your mind and helps to anchor you in the moment. Some like to go in the reverse order, finding a specific point of interest and slowing stepping back from it mentally, to take in the big picture.
Whatever method works for you, take the time to engage with it. Nature journaling might start simply as observations of superficial details, but as you keep at it, you will find that it begins to connect you with nature in a way you would not have anticipated.
You do not need to be an artist to draw.
It’s important to make clear to yourself and your kids that you do not need to be an artist to draw. You only need to take the time to observe – to really look at the thing you want to draw.
The attempt to draw something requires us to really observe that thing, to see the light and shadow playing over its surface, to examine its texture, its components. A chair, for example, is only a chair until you draw it; then it becomes something more… something unique and amazing. You feel like you finally understand that specific chair. The purpose of the drawing was to better understand the chair – NOT to create a drawing of a chair. The same goes with your nature journal.
You are not creating a nature journal for someone else. It’s for you. The purpose of your drawings is not to try to represent that thing for someone else. It’s meant to be a representation of what YOU see and feel. And you are doing it for yourself.
And if you don’t quite get what I’m saying, or you’re not able to get your kids to understand this, that’s fine. Work on your journal, and do you best. This is one of those things that only become clear once you do it. It takes faith.

There’s a lot to explore right where we are, in our own neighborhoods and backyards! Join us while we get off the couch and explore the everyday wonders of nature, science, space, engineering, art, and anything else we stumble upon during on our adventures.


